How I Craft Fun, Engaging, and Skill-Building Art Projects
Creating art lessons that are not only fun but also teach real skills can feel like a tricky balance.
Over time, I’ve figured out how to design lessons that actually help students grow their artistic abilities while having a blast in the process.
If you’re curious about how I put together my art lessons, I’m excited to walk you through my process – one that has evolved over many years of teaching.
Step 1: Deciding What Skill to Teach (and Making Sure It’s Age-Appropriate)
The first thing I do when creating an art lesson is decide what skill I want to teach.
This can be anything from teaching shading (value) to teaching how to draw basic shapes or create perspective. The skill needs to be age-appropriate, though.
For younger kids, it might be more about shapes, color, or basic lines, whereas older students can handle more complicated skills like drawing cylinders or understanding proportions.
Step 2: Choosing the Right Project to Teach That Skill
Once I know what skill I want to focus on, the next step is figuring out what kind of project will work best for that.
I ask myself: Am I going to have them draw an animal, a landscape, or an object? It’s all about what fits the skill I want them to learn.
For example, if I want to teach value, I might choose a tree project. We can talk about where the light is coming from and how that affects the trunk, making it lighter at the top and darker at the base. It’s simple, but it helps get the concept of value across.
But, here’s the thing – it also has to be something that kids will enjoy making. If the subject matter is boring or not relevant to them, it’s going to be hard to get them excited.
Step 3: Making Sure It’s Fun and Relevant
It’s so important to me that the projects I choose are ones kids will actually want to create. If the subject matter is something that doesn’t excite them or isn’t something they can relate to, I avoid it.
I want the project to feel relevant to their world and interests, so they feel inspired to give it their best effort.
Step 4: Planning for Creativity and Student Ownership
One of the most important parts of an art project is making sure there’s a space for students to be creative.
I don’t want the entire project to be a situation where they have to copy everything I do. Sure, at the beginning of my courses, I give them projects where they follow along closely to make sure they build the fundamental skills they need.
But after that, I slowly take away the step by step focus and explain everythign at once and then give them teh time to do the project themselves. This make sure there’s room for them to choose their own colors, add their own patterns, or design the composition in a way that feels personal to them.
This is all about making sure students feel like they own their artwork, even while learning essential skills.
Step 5: Choosing the Best Medium
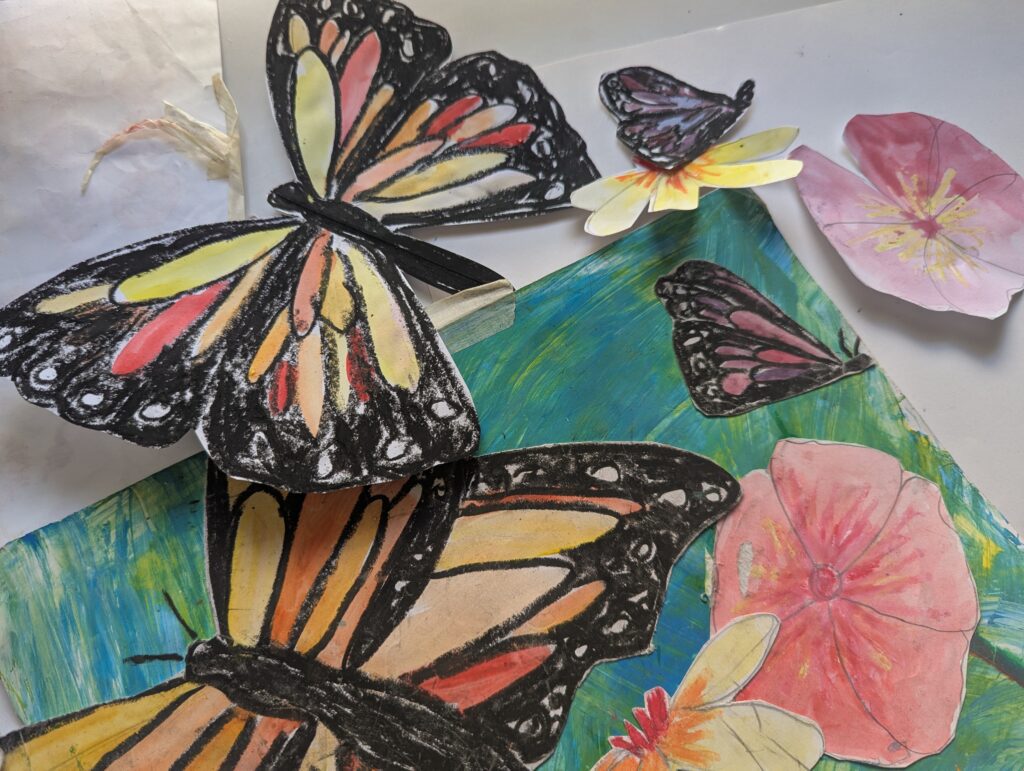
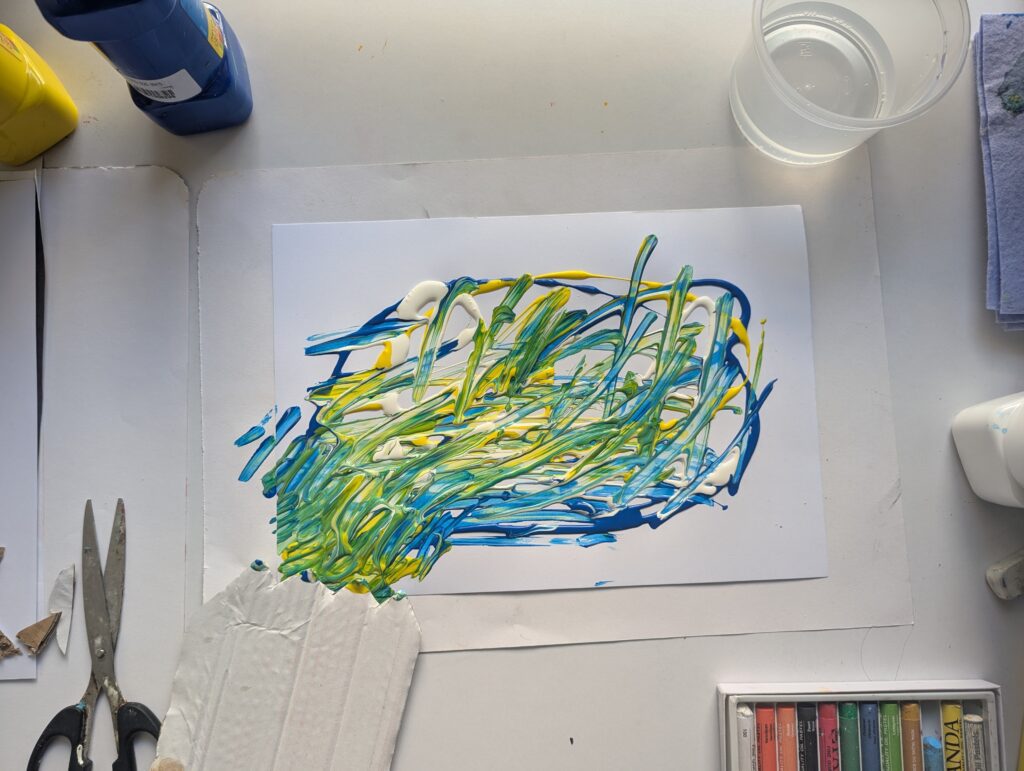
Now, I need to decide on the materials. Do I want to use just one medium, like watercolor or oil pastels, or should I mix things up with a few different materials? Sometimes, I have them create the background on one piece of paper and then draw an object on a separate piece of paper to attach later. This helps kids stay more organized, and it allows them to focus on the details of the object without worrying too much about the background. Plus, it helps teach them about foreground vs. background.
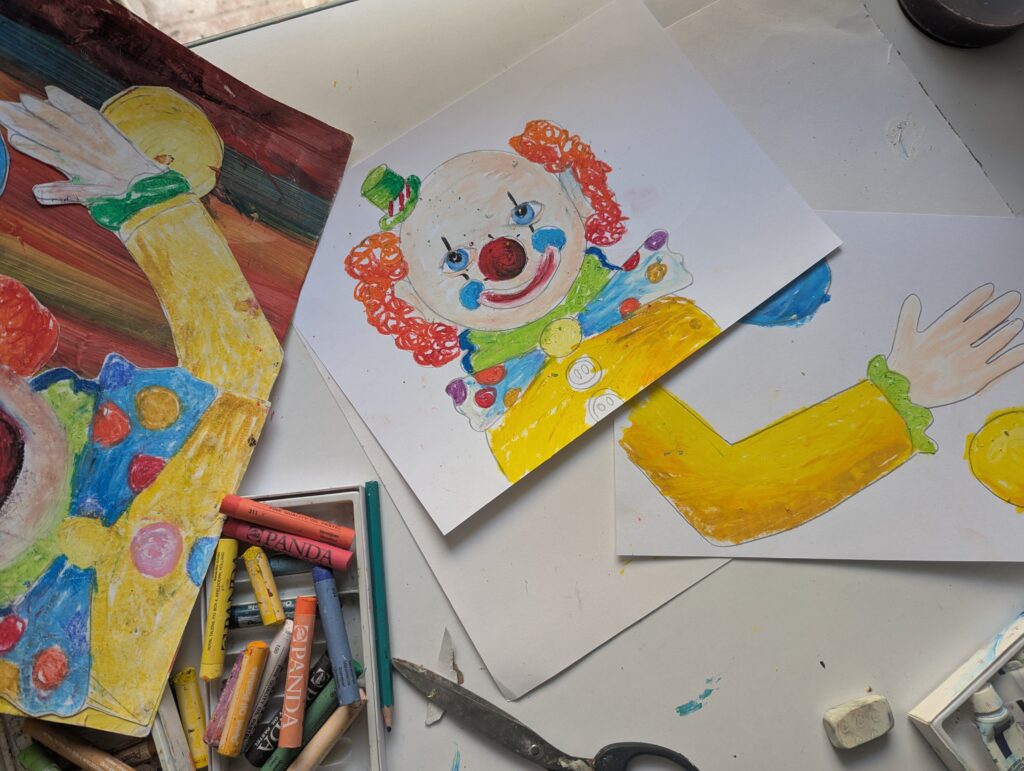
Step 6: Creating the Sample Project
Next, I create a sample project.
As I’m doing it, I’m thinking through every step and imagining how I would teach that to my students. How can I explain it in a simple, clear way?
And will it be too complicated or overwhelming for them? If it doesn’t turn out looking good or if it’s too “blah,” I go back to the drawing board (pun intended!).
I need the project to be something that will excite my students, not something that makes them want to sigh and put it down halfway through.
Step 7: Teaching the Lesson and Learning from Feedback
Finally, it’s time to teach the lesson.
After the lesson is done, I reflect on how it went. If I find that the kids didn’t find the project exciting or if I felt like I didn’t enjoy teaching it, I know it wasn’t the right fit.
Over the years, I’ve learned that I need to stick to a few important rules when creating art projects:
- The project must be something that excites the kids and sparks their imagination.
- It has to teach one skill, and that skill should be the focus of the lesson (no trying to teach too many things at once!).
- It must have a creative element where students get to make decisions about their artwork.
If a project doesn’t meet these criteria, I try not to teach it again.
The Journey to Finding What Works
I’ll admit, when I first started teaching art, I wasn’t exactly sure what I was doing.
I tried searching for art lessons online, trying to follow what other art teachers were doing. But the lessons I found often felt haphazard or incomplete – they didn’t really teach the students anything important.
They were either too simple, too boring, or just focused on creating “pretty pictures” without really building skills.
Over time, I realized that I needed to approach art lessons from the opposite perspective. I should focus on teaching specific skills first, like drawing with shapes, understanding tones and value, or getting the proportions right.
Once I had those skills in mind, I could create projects that would help students develop them.
At first, it was frustrating. I’d second-guess myself and wonder why it felt like I couldn’t teach art the way others seemed to be able to. I could draw and paint beautifully, but I struggled to break those skills down into teachable steps.
I also realized that relying on other people’s lesson plans wasn’t going to work because they weren’t focused on building actual skills.
It wasn’t until I tried teaching my own method – focusing on skill-building, one step at a time – that I started seeing real progress. The results were amazing.
Every student, no matter their skill level, started gaining the confidence to draw and paint independently.
The Takeaway: Trust Your Own Path
So, what’s my message for you?
Don’t give up, even if things don’t come easily at first. Everyone has their own journey, and it takes time to figure out what works. It’s okay to make mistakes along the way – that’s how you learn.
For me, focusing on teaching essential skills, letting students be creative, and keeping things fun and engaging has worked wonders.
Conclusion: Embrace the Process
Teaching art is a journey.
It’s something that you can refine over time as you get better at understanding how to teach and how to make it meaningful for your students.
If you’re working on creating your own art lessons, trust yourself and keep going. With a little time, persistence, and lots of creativity, you’ll find what works for you and your students.
And always remember – the process is what makes it worth it.
That’s my long spiel of how I create my successful art projects.
Are you on our waitlist for when our signature art courses for kids opens? Get on it now here.