The third part of mixing colors: Understanding the intensity of a hue
How do we know how to dull bright colors?
So let’s start with this: You can’t make colors brighter-the pigment you have in the tube is the brightest it can be. But often we need to dull a color, especially to create balance and harmony in a painting.
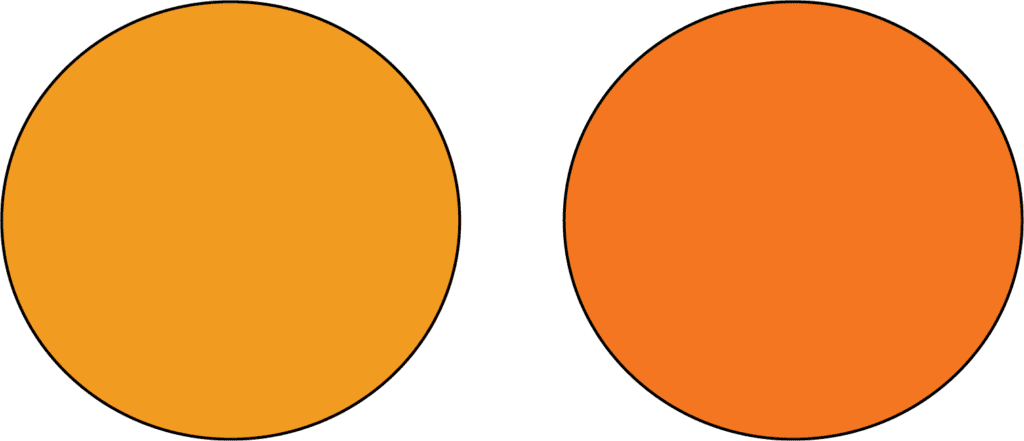
In the picture below you can see which orange hue is bright and which is dull.

The one on the right is the brighter orange, and the one on the left is duller.
So how do we get a pigment to be less bright?
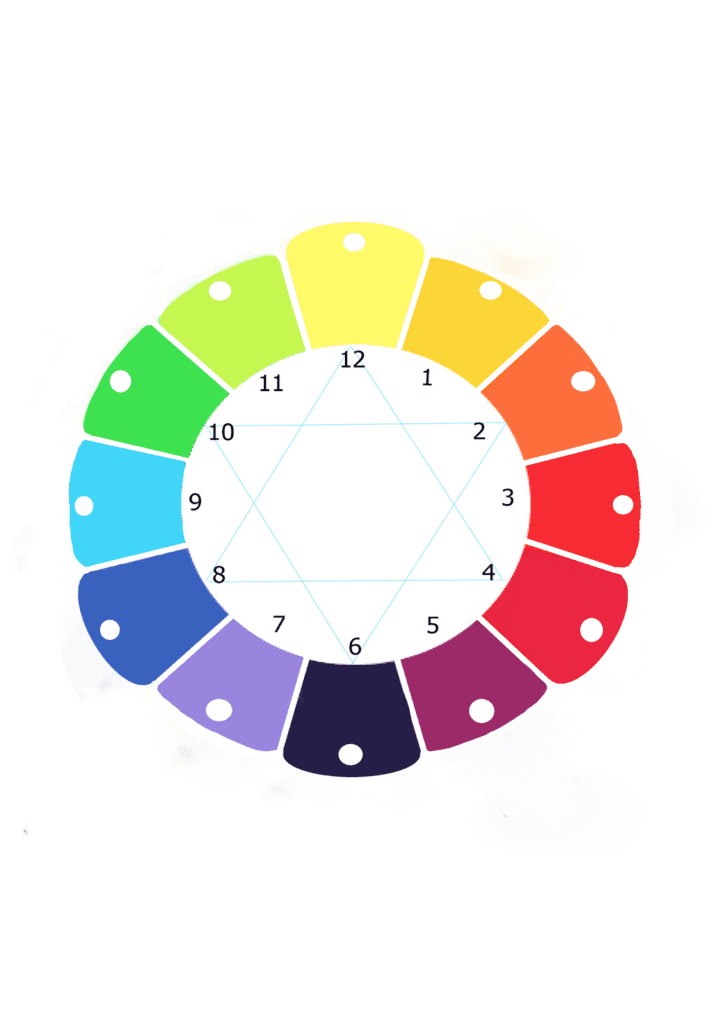
So if we go back to the first stage of determining a hue, we mixed our colors on a color wheel. If you look at the color wheel, you can see there are hues that are opposite each other. These are called complementary colors. If you mix a hue and then add its complementary color in small amounts, you will slowly dull the hue until you get to a ‘no color’ as the colors will all be canceled out as you have used all the primary colors.

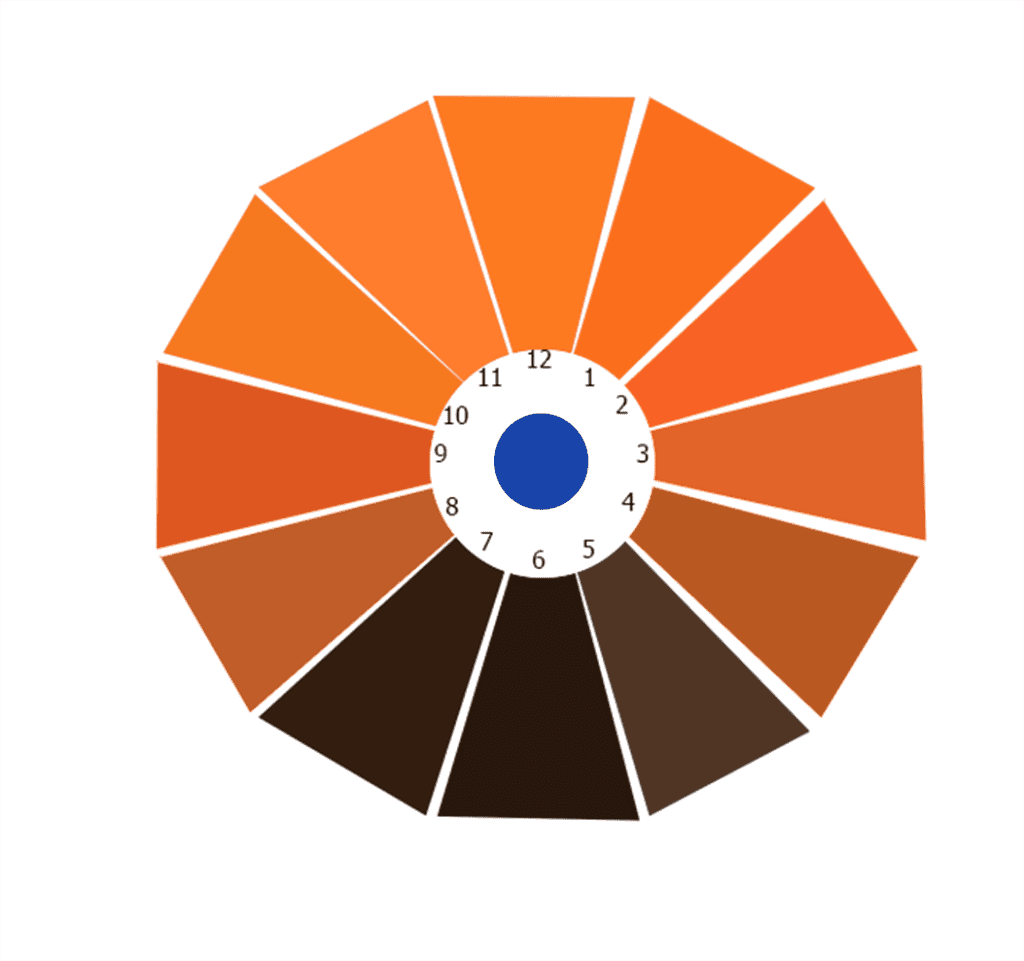
So in this wheel below you can see we have added small amounts of blue, which is the complementary color to orange. As it reaches the 6 o’clock mark, it reaches a no color.
You can also see how a dull orange, is really brown.

So yes, red will be added to green to create a dull green. Yellow will be added to the violet to create a violet that’s dull. How dull you want your hue to be will be determined by how much of the complementary color you will add to it. If you reach a ‘no color’ you can always add the original back into the mixture and bring it up to the required dullness.
This also works for any hue on the color wheel, our yellow-orange, orange-red etc.
So sounds simple enough? Yes, it is quite simple. Once you have the awareness, you will begin noticing dull and bright hues all around you and then determining how much of it’s complementary color you will need to add to it to create a duller hue when mixing pigments.
So when you paint, you can use your color wheel to check the hue that is opposite and then add it until it reaches the required dullness.
You need the opposite intensity of hues in your painting and so that’s why you need bright and dull hues of the opposite level to balance a painting.
So that concludes our series on mixing any color. The first step is to determine which hue it is on the color wheel, next is to determine its value (how light or dark it is) and then to determine if it is dull and if so how dull.
I hope you enjoyed this series and you can see how simple it is to mix colors. If you are starting out on your painting journey, I suggest you begin with paintings that are simple and not too detailed. You want to take pictures of artwork that other artists have done and replicate them, as this will force you to just focus on practicing mixing colors. The better you get at mixing colors, the more detailed and layered you will be able to do your paintings. But start slowly, with a few colors- such as a sunset silhouette, or a landscape with trees. Paintings without detail and without hard-to-mix colors like beiges and creams is good to start with.
Once you feel like you have a grasp on mixing colors, you can then take a photograph and create a painting based on that. This is harder than copying an artwork for practice, as now you are taking the colors in nature and translating it into a balanced painting and you will have to work a bit harder to make sure you are mixing balanced colors and creating a harmonious painting.
Once you feel like your color mixing is becoming so intuitive-which can take time- you can work on detailed and layered paintings and find your own style.
But remember, do it for the process and not for the outcome. The more time you spend working on your color-mixing skills, the better your paintings will be. It’s the truth. The number one thing I see in emerging artists is trying to jump to the professional artist stage without mastering color mixing well enough.
So I hope that gives you hope to being your color mixing and painting journey and remember: Do it for the process and remember to enjoy the process.

